

 • PhotoTraces")
[ad_1]
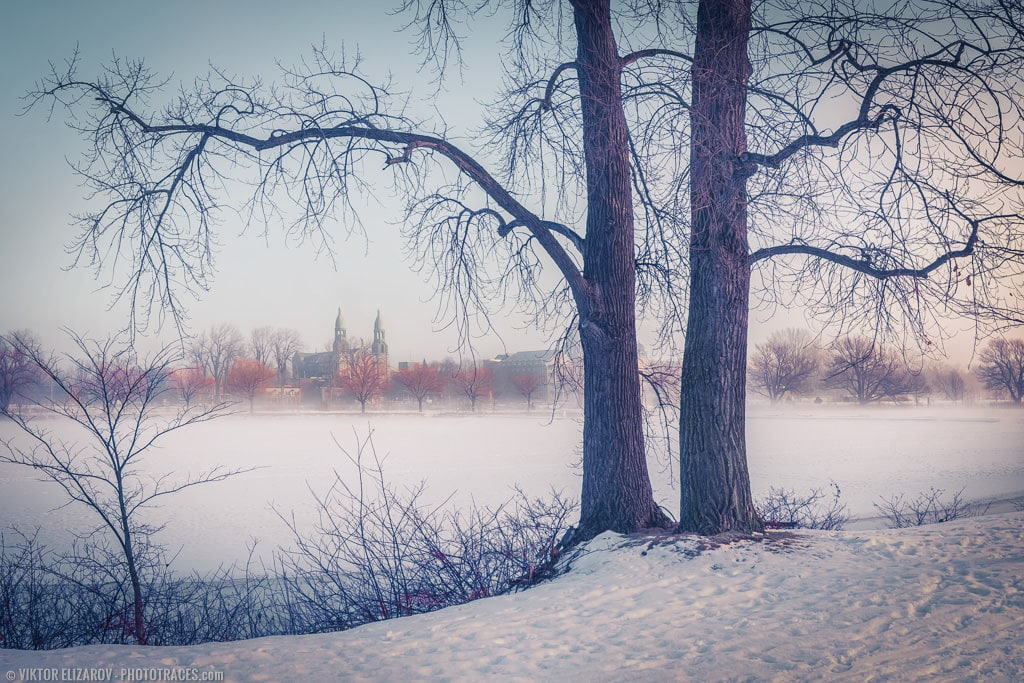
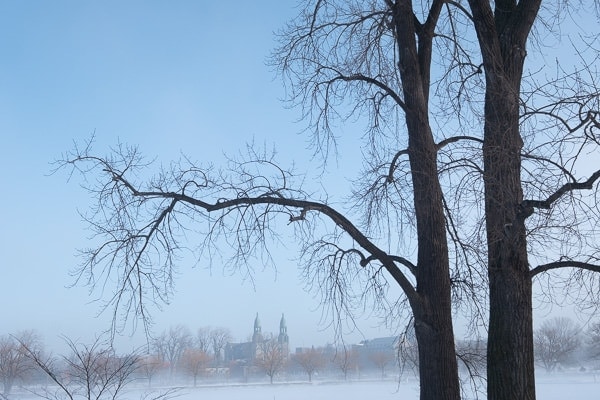
I’ve a brand new routine this winter (due to lockdowns). Each morning, I get up simply earlier than the dawn and attempt to guestimate if the golden hour will likely be value placing on winter garments and go outdoors the place it’s -20C.
The morning I took the featured picture, I knew straight away that dawn could be superb. The explanation for that was thick fog with completely no wind.
Right here, we not often get fog resulting from fixed robust winds coming from the Saint Lawrence river surrounding the Island of Montreal.
I bought to understand and by no means miss foggy climate, which at all times affords distinctive images alternatives.
This time, the fog lasted a minimum of an hour after the solar appeared over the horizon. I had sufficient time to cowl the large space and to take loads of fascinating images.
Capturing
First, I needed to care for publicity. I knew prematurely that vibrant snow and fog would idiot the digicam’s metering system, and I couldn’t depend on it. As a substitute, I used the histogram to reveal the scene correctly.
I pointed the digicam towards the scene and locked the publicity. Subsequent, I activated the histogram and used the publicity compensation to boos the publicity by 1 1/3 stops. The histogram helped me to not overexpose the shot.
For extra detailed info on the best way to {photograph} snow, please test my tutorial: Learn how to {Photograph} and Edit Snowy Scenes
Right here is the histogram of the ultimate shot. It’s uncovered closely to the correct.

Second, I needed to keep away from the angle distortion produced by extremely large angle lenses.
I used the Fujinon 10-24mm f/4 lens. As a substitute of taking pictures on the large finish (10mm), I made a decision to make use of the lengthy finish of 24mm and create a wide-angle panorama.
I took 6 photographs in whole attempting to map a whole scene. Due to advances in Lightroom panorama stitching capabilities, I knew I might do it handheld and not using a tripod.
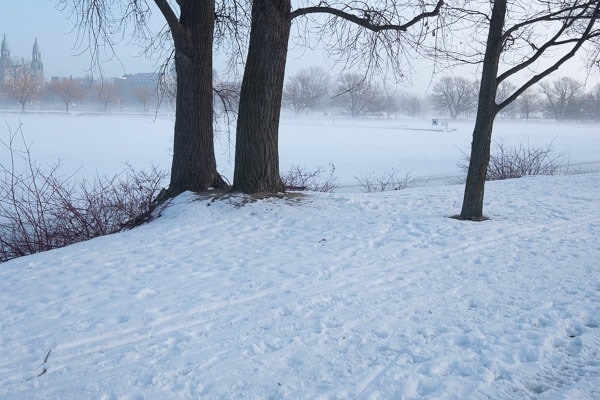
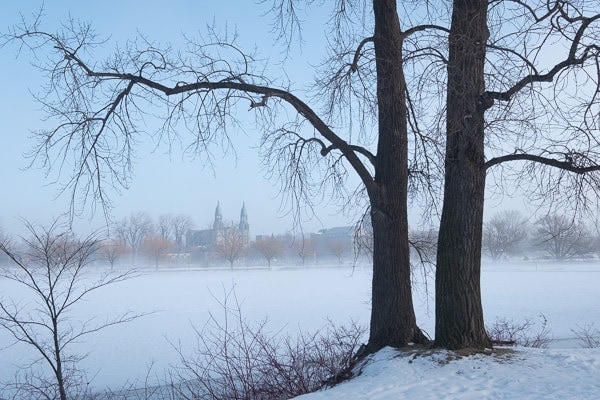
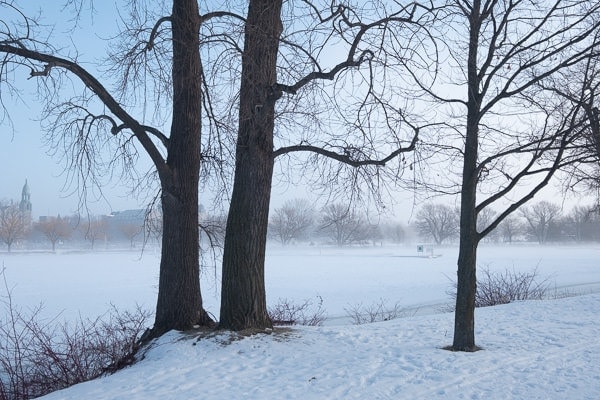
Beneath are 6 pictures I took with the aim to sew them right into a panorama in Lightroom:


Enhancing & Processing
It was a 6 RAW pictures panorama processing workflow.
To course of the featured picture, I used my up to date and restructured Winter Colours preset assortment.
In case you already personal the Winter Colours Preset Assortment, you’ll be able to obtain the brand new model at no cost. You may login to the member’s space right here.
Lightroom (75%) – 20min
Step #1 – Panorama Stitching
Earlier than I might begin engaged on the picture, I wanted to sew it right into a panorama.
I chosen the sequence of 6 pictures, right-clicked on certainly one of them, and used the Photograph Merge > Panorama command to activate the Panorama Module.
When the Panorama Module was activated, I attempted completely different projection choices and realized that the default Spherical Projection produced the most effective outcomes.
I didn’t use the Boundary Wrap choice as a result of it produced the curved horizon.
I hit the Merge button.

Step #2 – Cropping
I take advantage of the Crop Overlay, and the Remodel controls to straighten up and crop the panorama.
I saved the unique 3:2 facet ratio.

Step #3 – Lightroom Fast Enhancing
Subsequent, I moved to my normal preset based mostly workflow I name Lightroom Fast Enhancing.
I opened the Winter Colours Preset Assortment and began to experiment with completely different seems to be, looking for probably the most interesting one.
I take advantage of the Ice Sample preset as a basis for my modifying.
Beneath, you could find the screenshot of the brand new, up to date construction of the Winter Colours preset assortment.
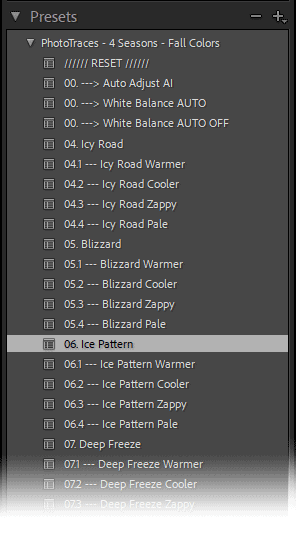
Now, every preset has 4 extra variations: Hotter, Cooler, Zappy, and Pale.
For instance, I used the Ice Sample variation for my modifying. After I chosen the Ice Sample Cooler preset, I bought an extra modifying choice contained in the BASIC panel.

With the assistance of the AMOUNT slider, you’ll be able to dial up or dial down the “cooling” impact.
In my case, I used Ice Sample Cooler at 44%.
Subsequent, I opened the TOOLKIT and utilized the next changes:
05. Publicity —
09. Open Shadows+++
16. Readability +
32. Vignetting ++
43. Midtone Distinction ++
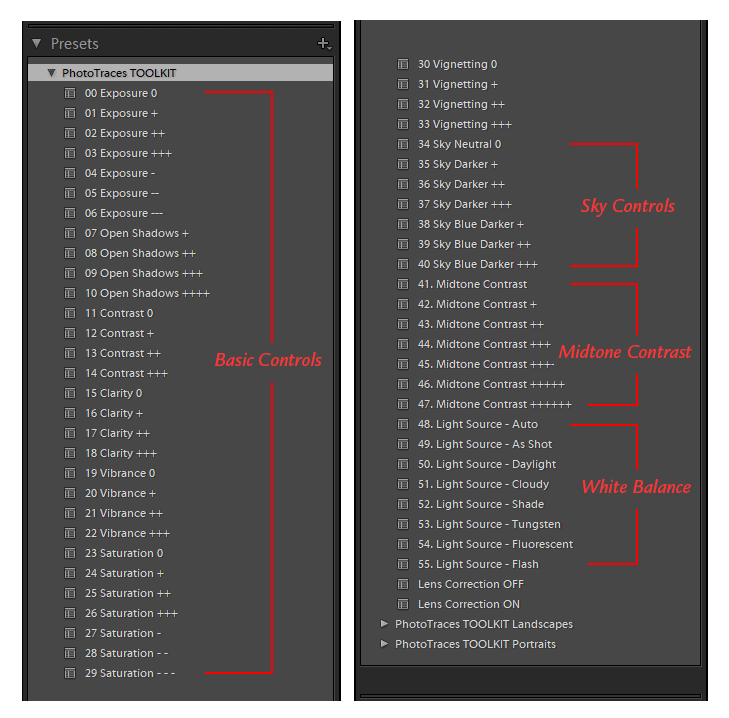
The Enhancing System: Ice Sample Cooler (5, 9, 16, 32, 43)
Photoshop (25%) – 7min
Step #5 – Cleansing
I used the mixture of the Clone Stamp and Spot Therapeutic Brush instruments to cowl the distracting components within the background and foreground.
The picture was clear sufficient, so I didn’t need to do a lot.
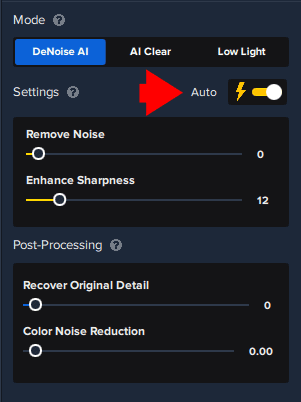
Step #6 – Noise Elimination & Sharpening
Sometimes, you want 2 completely different instruments to take away noise and one other to extend sharpness, however with the discharge of a model new Topaz DeNoise plugin, you’ll be able to full each duties in a single step. I used the AUTO settings, and the plugin decreased the noise and elevated sharpness in a single step. Priceless.
To study extra about how I take advantage of Topuz Plugins in my images test right here: Topaz Software program Assessment – How I take advantage of Topaz Plugins
Earlier than & After Transformation

The autumn season affords a mess of alternatives for capturing beautiful foliage images. By following these 12 concepts and ideas, you’ll be able to improve your images expertise and seize the great thing about autumn in all its glory.
[ad_2]