


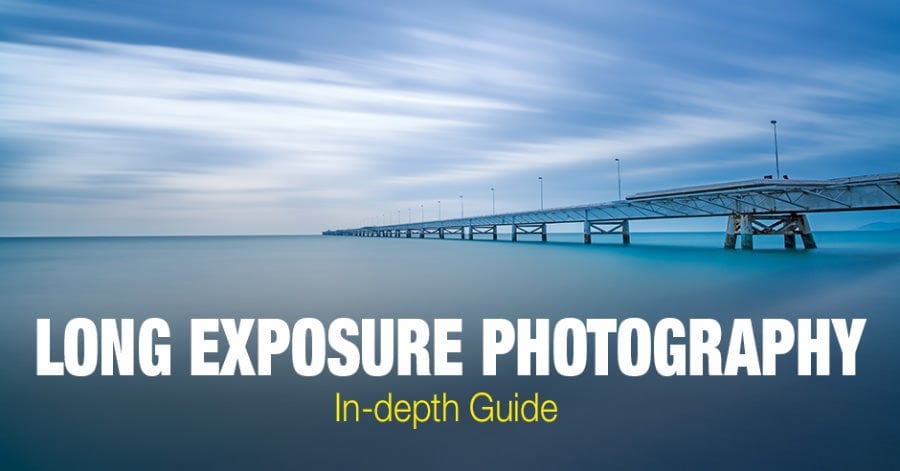
Lengthy Publicity Images is a novel and inventive approach of capturing movement in {a photograph}. It’s a kind of images that includes taking pictures with an extended publicity time, often starting from a number of seconds to many minutes.
Lengthy Publicity Images permits photographers to discover their inventive aspect by creating stunning and surreal photos in numerous settings. Lengthy publicity images is good for capturing gorgeous pictures of landscapes, night time skies, stars, and cityscapes.
Whereas lengthy publicity strategies can get you ultra-powerful outcomes, capturing stunning lengthy publicity photos can appear troublesome, if not downright unattainable.
Thankfully, creating lengthy publicity pictures isn’t as exhausting as you assume.
In reality, on this information, I’m going to let you know all the things it is advisable to find out about lengthy publicity images–in order that, by the point you end, you’ll have the ability to seize lengthy publicity pictures like a professional!
What Is Lengthy Publicity Images?
Lengthy Publicity Images is a images approach the place the digicam shutter is left open for an prolonged time frame. Because the shutter is open, any motion that happens throughout this time will seem as a blur impact within the closing photograph. This may very well be clouds shifting throughout the sky, water flowing over rocks, or site visitors mild trails. Through the use of the lengthy publicity approach, photographers can seize distinctive photos which can be unattainable with different strategies.
In different phrases:
As an alternative of capturing a photograph of a second, you seize a photograph over time. You press your digicam’s shutter button, and your digicam continues to take a photograph.
Now, there isn’t a simple solution to separate lengthy publicity images from “quick publicity” images. However lengthy publicity pictures usually have a shutter velocity of longer than 1/30s or so and sometimes go on for much longer; some panorama photographers seize lengthy publicity photos that final a number of hours or extra.
Shutter Pace and Lengthy Publicity Images
Your digicam’s shutter velocity is a elementary a part of lengthy publicity images. The shutter velocity defines the size of your publicity–and so, if you wish to seize lengthy publicity photos, you have to use an extended shutter velocity.
However what is going to shutter velocity truly do to your pictures?
Effectively, with a lengthy shutter velocity, you may obtain two issues:
Phantasm of Movement
First, you may create photos that embody the phantasm of movement. It’s because an extended shutter velocity can introduce blur into a photograph, particularly in case you have a fast-moving topic.
So should you use an extended shutter velocity to {photograph} an individual operating throughout a garden, the particular person will seem blurred within the closing picture.
Notice that blur can be launched at totally different shutter speeds, relying on how briskly the particular person is shifting (the sooner the particular person, the sooner the shutter velocity might be whereas nonetheless producing blur).
Surreal Interpretation
Second, you may create photos that provide a degree of surrealist interpretation. These pictures don’t seize “nature” a lot as an inventive model of nature.
The way to Take Lengthy Publicity Pictures
There are two kinds of lengthy publicity photos that it is advisable to be accustomed to:
- Lengthy exposures at night time.
- And lengthy exposures within the day.
Let’s check out each in flip:
Information to Lengthy Publicity Images at Night time
To start with, it’s necessary to notice that lengthy publicity images at night time is not the identical as astrophotography.
So should you’re seeking to seize stunning astrophotography photos at night time, try this tutorial: Night time Images Settings
That mentioned, how do you seize lengthy publicity photos at night time? What’s the approach?
Effectively, nighttime lengthy publicity photographers are hampered by one key drawback:
They’ll’t see.
At night time, you’re usually confronted with pitch darkness, or close to pitch darkness, which implies that you received’t have the ability to compose fastidiously for a great shot.
So what do you do?
You scout the placement prematurely.
Step 1: Scout the Location in Advance
And whilst you’re scouting, mentally notice (or write down!) the weather of the scene that may profit from a lengthy publicity approach.
Any shifting parts work effectively, together with waterfalls, breezy water, shifting clouds, and rather more.
You’ll additionally wish to notice the route and velocity of the wind and operating water. It’s going to provide help to to estimate the shutter velocity it is advisable to get your required degree of blur.
For instance, fast-moving clouds will allow you to obtain an extended publicity blur impact at a lot sooner shutter velocity.
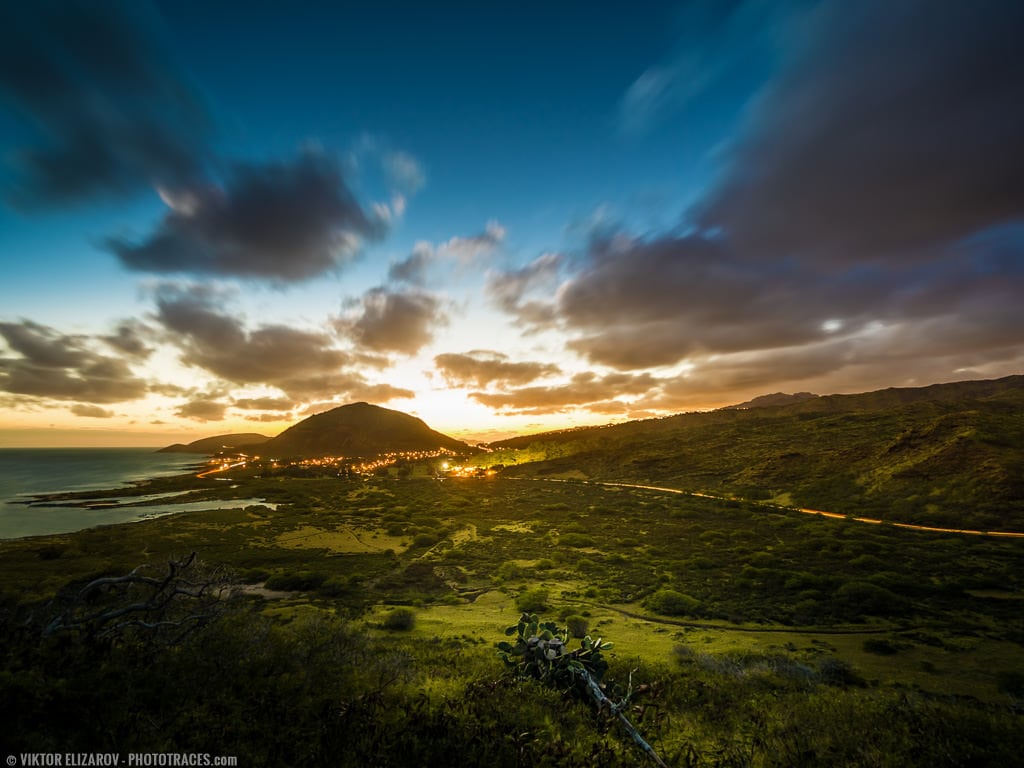
I usually mix conventional sundown images with an evening images session.
I arrive on the location simply earlier than the Magic Hours. I {photograph} sundown throughout Golden Hour. And I’ve loads of time throughout Blue Hour for scouting earlier than it will get utterly darkish, and I’m prepared for night time lengthy publicity images.
Step 2: Arrange Your Gear
It’s time to arrange your digicam on a tripod.
Should you did location scouting effectively, you realize precisely the place to set your digicam and tripod.
And ensure your tripod is sturdy as a result of it’s unattainable to do lengthy publicity images with out a great tripod. Once you maintain the shutter open for tens and, generally, tons of of seconds, even small actions of the poorly stabilized digicam will break your shot.
Step 3: Compose Your Shot
By the point you’re able to shoot, it will likely be utterly darkish, and the one solution to nail fascinating composition is to arrange your shot based mostly on composition you outlined throughout scouting.
Once more, ensure that to carry a sturdy tripod; in any other case, you’ll introduce plenty of blur into your picture, and never the sort that lengthy publicity photographers are usually after!
Step 4: Focus
Subsequent, set the main focus. If it isn’t utterly darkish but, your digicam could will let you use autofocus, so be happy to attempt it.
Should you succeed with autofocus, ensure you lock the main focus as soon as focus is acquired to stop your digicam from refocusing.
However guide focusing is all the time a powerful choice if the autofocus doesn’t work out. I don’t hassle with autofocus today; I all the time use guide focus for predictable outcomes.
Step 4: Set Publicity
When you’ve nailed focus, then change your digicam to both Guide mode or Bulb mode. Notice that Guide mode will usually solely will let you shoot at exposures of as much as 30 seconds, so Bulb mode can be crucial should you plan to transcend this.
(On Fujifilm cameras, you’ll wish to use the T, or time, mode.)
Modify the shutter velocity and press the Auto Publicity Lock button to lock publicity.
Step 5: Effective-Tuning Publicity with Publicity Compensation
At this level, you need to activate the digicam’s histogram should you’re working with a mirrorless digicam, and you’ve got this feature. To nail right publicity, it is advisable to alter the digicam settings by evaluating the histogram after which utilizing publicity compensation to spice up or decrease the brightness barely.
Should you don’t use a mirrorless digicam that means that you can see the histogram earlier than urgent the shutter button, you need to take a take a look at shot, then make any publicity adjustments based mostly in your take a look at shot’s histogram.
Step 6: Take the Shot
After which, lastly, seize your nighttime lengthy publicity picture!
To stop unintended digicam shake, ensure you use shutter launch (wi-fi or wired) or 2-second delay digicam performance to set off the shutter. The digicam will shoot the photograph 2 seconds after you could have pressed the shutter.
Step 7: Confirm Captured Picture
Be sure that to examine the ultimate picture for correct focusing the correct publicity.
Step 8: Begin Once more from Step 3
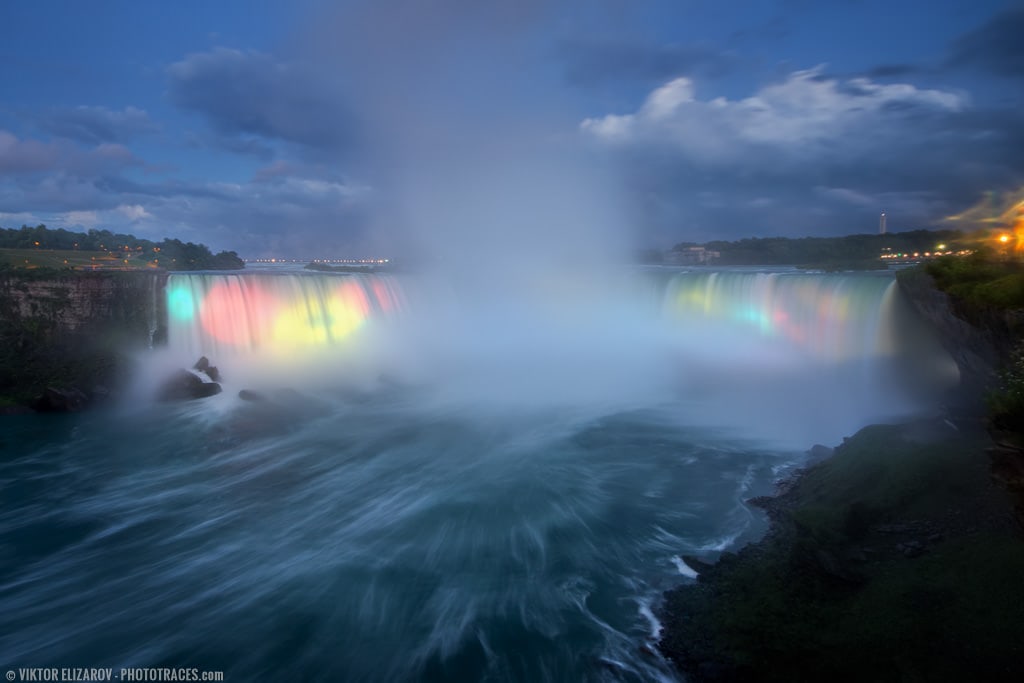
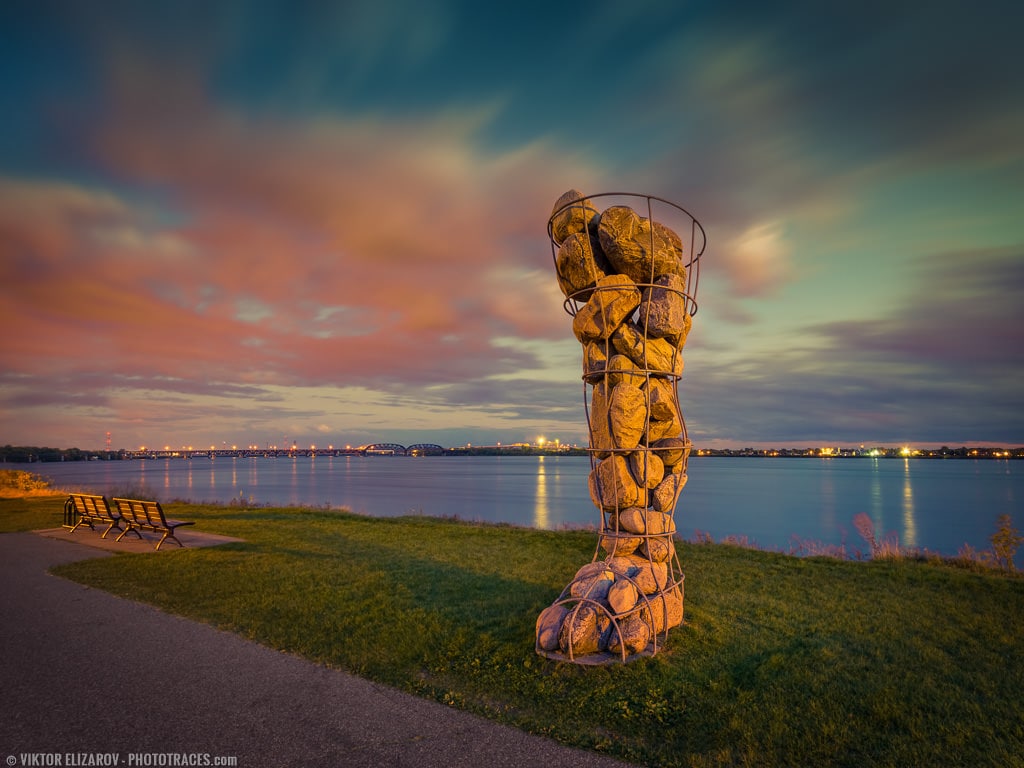
Lengthy publicity images at night time
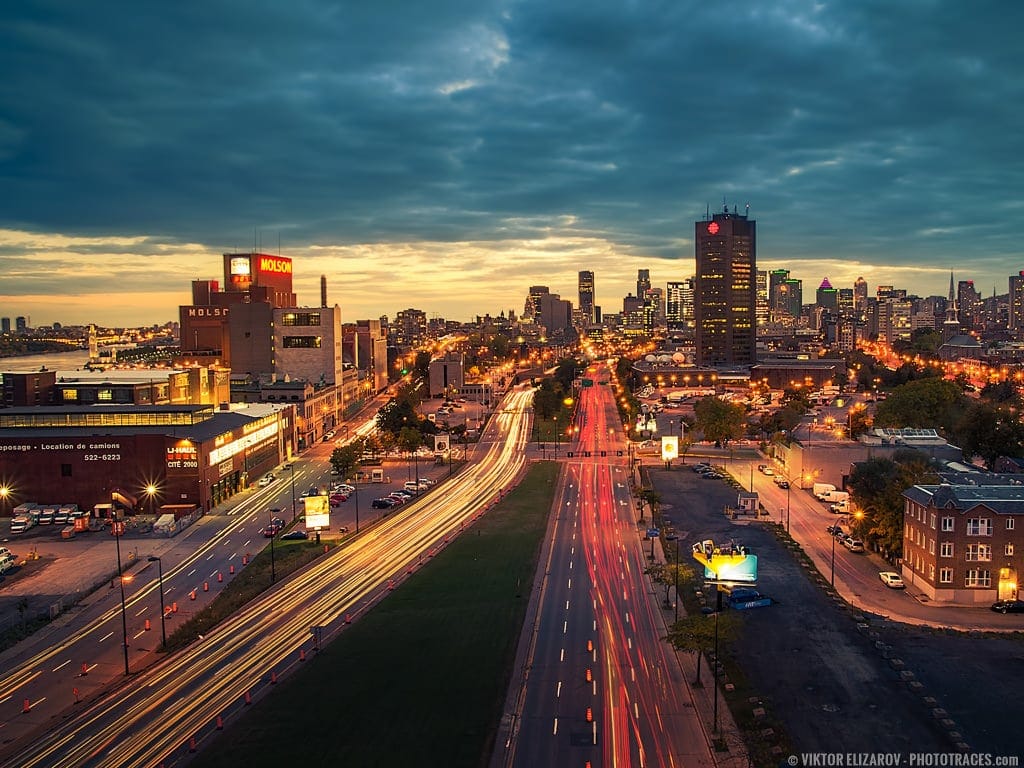
Daytime Lengthy Publicity Images
Lengthy publicity images in daylight is much like lengthy publicity images at night time–besides that you simply usually have an excessive amount of mild to work with, which makes it unattainable to create lengthy publicity photos with a normal digicam/lens mixture.
That’s why daylight lengthy publicity photographers carry impartial density filters, which darken the scene and will let you use a gradual shutter velocity with out overexposing the picture.
So should you’re capturing an extended publicity in broad daylight, use the identical directions that I’ve given above. However after you fine-tune the publicity, mount the impartial density filter and compensate for the mandatory publicity adjustments.
(Why don’t you mount the impartial density filter prior thus far? As a result of impartial density filters are darkish, which suggests they will make it so you may’t see by your digicam’s viewfinder.)
Should you’re unsure the right way to change your publicity based mostly on the impartial density filter, I like to recommend trying up an ND filter calculator or app, which is able to rapidly and simply generate your adjusted digicam settings.
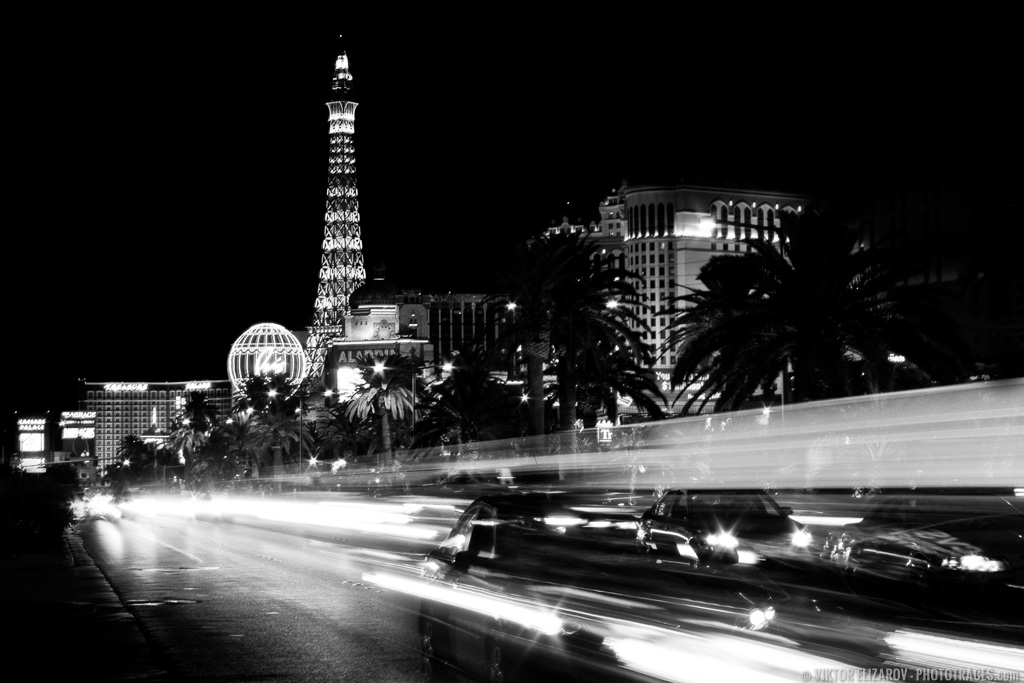
Utilizing lengthy publicity images in daylight

Lengthy Publicity Images With out Tripod and ND Filters
I wish to share with you a method I exploit very often. The approach permits me to realize an extended publicity impact and not using a tripod and with out ND filters.
I take a collection of pictures, most frequently 10 or 12, of the identical topic with roughly 1-second intervals between every shot. And later I merge a collection of pictures into one picture in Photoshop.
If you wish to study extra in regards to the approach, examine my 2 case research under:
Digicam Settings for Lengthy Publicity Images
Lengthy publicity pictures require a gradual shutter velocity. However in addition they require a number of different settings.
Shoot RAW
First, you’ll wish to shoot in RAW; this offers you most flexibility in terms of recovering the highlights and shadows in your picture.
- Use Guide or Aperture Precedence Capturing Modes
Second, you’ll wish to expose utilizing your digicam’s Guide mode or Aperture Precedence mode. Both of these choices offers you the management it is advisable to seize a shocking photograph, however notice that Guide mode means that you can work with out publicity compensation, whereas publicity compensation is vital when utilizing Aperture Precedence mode.
I used Aperture Precedence capturing mode right here

Use Matrix, Evaluative, or Multi Metering
Third, fastidiously select your digicam’s metering mode. I like to recommend Matrix metering, as this can consider all the scene and give you a usually correct publicity (although on Canon cameras, you’ll wish to select Evaluative metering, and on Fujifilm cameras, you’ll wish to select Multi metering).
Use Publicity Compensation
Fourth, should you use Aperture Precedence, ensure you dial in publicity compensation based mostly on the suggestions you get from the histogram. Should you use Guide mode, you’ll want to regulate the publicity manually by elevating/decreasing the shutter velocity, the aperture, or the ISO.
Use Focus Lock to Stop Refocusing
Fifth, focus utilizing autofocus or guide focus (as should you’re capturing a standard panorama scene). Guide focus prevents unintended refocusing, however should you do determine to make use of autofocus, then ensure you interact the main focus lock to stop refocusing. Oh, and ensure you focus on the hyperfocal distance (i.e., about one-third of the best way into the scene).
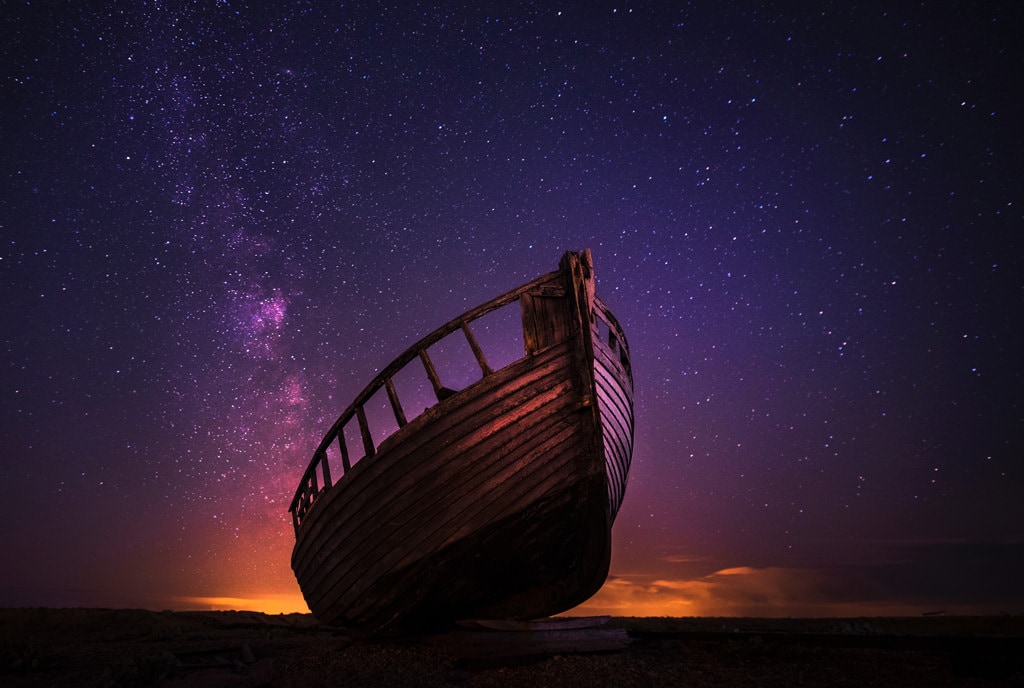
Guide Focus When Capturing Stars
Lastly, should you determine to seize lengthy exposures of stars, then ensure you solely use guide focus and level your lens at infinity. That approach, you may get the sharpest doable stars!
Picture Gear for Lengthy Publicity Images
Lengthy publicity images is mostly a type of panorama images, which means the tools you utilize ought to intently mirror your panorama gear bag.
Cameras for Lengthy Publicity
Should you plan to shoot lengthy publicity photos at your digicam’s base ISO, then you may get away with utilizing just about any sensor (and just about any digicam).
However as you increase the ISO, smaller-sensor cameras battle to offer good outcomes. So should you plan to extend your ISO incessantly, you’ll wish to work with a full-frame digicam that gives a formidable low-light efficiency.
Lenses for Lengthy Publicity
Lengthy publicity images usually makes use of wide-angle lenses (although you can too use telephoto lenses for fascinating lengthy publicity close-ups).
Should you plan to shoot sharp stars at night time, a lens with a large most aperture (of f/2.8) is critical. In any other case, your lengthy publicity lens can supply a most aperture of f/4 and past.
Tripod Choice
Right here’s the reality:
You can not seize stunning lengthy publicity photos and not using a tripod.
A tripod retains your digicam regular whereas the topic of your picture strikes as a way to obtain that stunning “shifting topic, nonetheless background” impact.
So how do you select a tripod?
It’s necessary to not skimp on sturdiness as a result of there are quite a lot of poorly-built tripods on the market. And should you plan to take your digicam on hikes and holidays, you’ll desire a tripod that doesn’t weigh an excessive amount of. That’s why I’d advocate a sturdy, carbon fiber tripod–as a result of whereas these might be costly, they’re completely definitely worth the value!
Impartial Density Filters
As talked about above, a impartial density filter is crucial if you wish to seize daytime long-exposure pictures.
(You can even use impartial density filters when capturing night photos!)
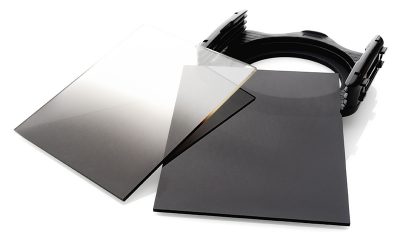
Impartial Density Filters
With a impartial density filter in hand, you may seize gorgeous movement blur results even in vibrant daylight.
However notice that impartial density filters go in entrance of your lens and degrade the optics, if solely barely. So that you wish to just remember to’re utilizing the highest-quality glass. Don’t buy low cost filters from eBay! As an alternative, purchase from a good firm.
To study extra about ND filters and their position in your images, see this text: What’s an ND Filter? Impartial Density (ND) Filter Chart
Shutter Launch
A shutter launch means that you can set off your digicam’s shutter button with out bodily urgent it. As an illustration, you may use a wired shutter launch, which hooks as much as your digicam and journeys the shutter; a wi-fi shutter launch, which indicators to your digicam to take a photograph, usually over an excellent distance; an app, which lets you management your digicam remotely; and even an old-school cable launch, which could be very simplistic however will get the job accomplished.
The rationale for a shutter launch is to stop vibrations that come from urgent the shutter button. Such vibrations have the potential to blur your pictures, the identical as should you bump the digicam whereas it sits on the tripod.
However, in a pinch, you may get away with utilizing the two-second (or ten-second) self-timer, which is able to delay the shot till after the “shutter button” vibrations have light.
Make sense?
For extra on shutter releases, try this text: What’s a Distant Shutter Launch? Do I Want One?
Lengthy Publicity Digicam App
Should you get pleasure from capturing pictures along with your smartphone, you could be desirous about one of many lengthy publicity apps available on the market (corresponding to Sluggish Shutter Cam). These lengthy publicity apps will let you enhance your shutter velocity to seize mild streaks, movement blur, or mild portray – utilizing solely your cell phone.
However keep in mind that you simply’ll nonetheless want a tripod in order for you gorgeous outcomes!
Concepts for Lengthy Publicity Images
Lengthy publicity images could look like a distinct segment subject, however there are lengthy publicity alternatives in all places.
As an illustration, you may {photograph}:
- Operating rivers, streams, or waterfalls
- Leaves waving within the wind
- Vehicles driving down the street
- Clouds shifting throughout the sky
- Fireflies flitting about at night time
- Waves washing out and in
And far, rather more!
Lengthy Publicity Images Suggestions
To get the very best lengthy publicity shot, there are a number of necessary suggestions to remember.
- First, use a tripod to your digicam and ensure your digicam is steady and safe.
- Second, use a filter corresponding to an ND (impartial density) filter to cut back the quantity of sunshine coming into the lens as a way to obtain longer shutter speeds with out overexposing your picture.
- Lastly, experiment with totally different shutter speeds and aperture settings till you get the look you need to your {photograph}.
With apply, you’ll have the ability to take lengthy publicity pictures very quickly!
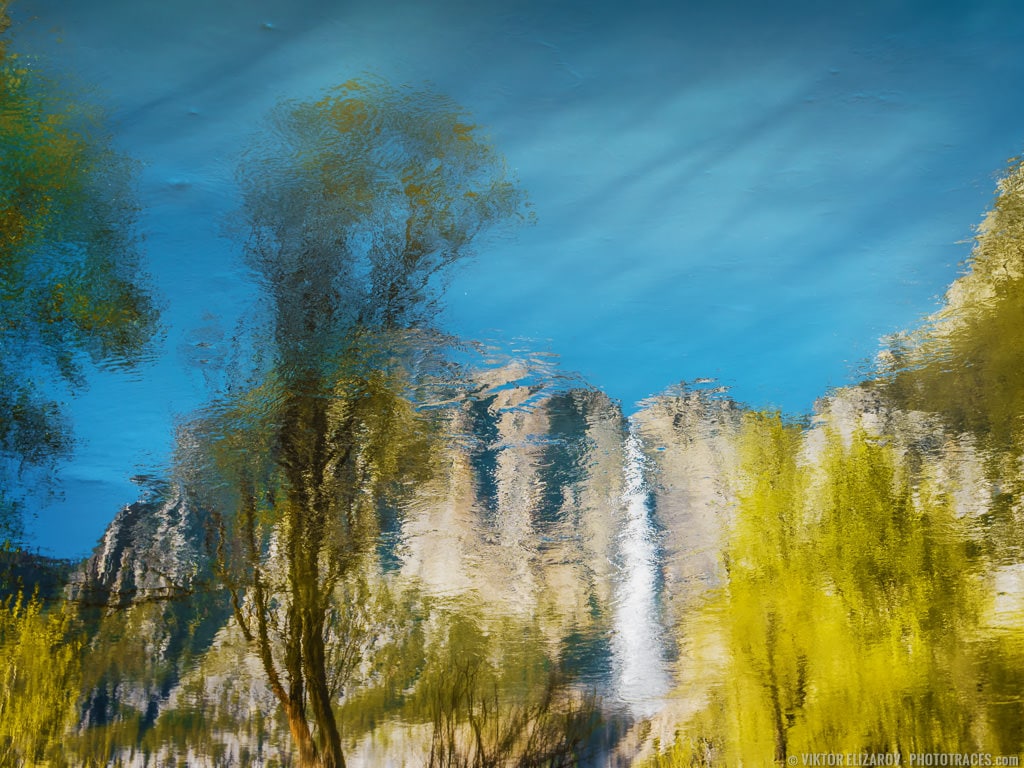
Lengthy Publicity Images Examples


Lengthy Publicity Images | Conclusion
Lengthy Publicity images is a extremely versatile approach that may produce actually gorgeous outcomes. It is a wonderful approach to boost landscapes, nighttime cityscapes, and different pure scenes. Moreover, utilizing impartial density filters will help seize much more intricate particulars in your picture.
Lengthy Publicity images takes a little bit of apply and persistence to get used to the approach, however with some experimentation and creativity, you may get nice photos that may stand out from the gang.
Lengthy publicity images is thrilling; it’s enjoyable and might get you nice outcomes.
So exit and take some lengthy publicity pictures!